Whether you are racing or training, it’s always fun for us to see pictures of YOUR #FlatSparkle (pictures of the clothes & gear you are rocking). Luckily, creating an awesome #FlatSparkle picture is nearly as hard or as complicated as you might think… you just need to implement a few elements of flat lay photography.
Check out these tips and tricks courtesy of Julia Warren of lookseestudio.com.
The Anatomy of a Magical Flat Lay
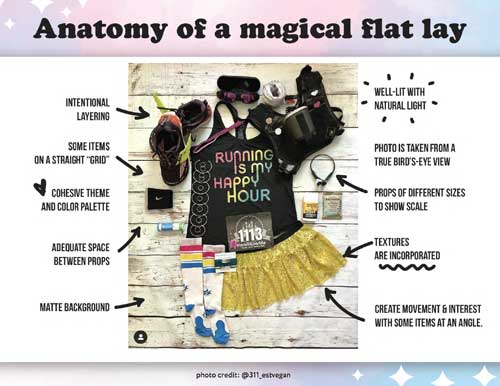
Some things to think about when creating YOUR #flatsparkle as seen in @311_estvegan‘s pic:
* intentional layering
* some items on a straight “grid”
* cohesive them and color palette
* adequate space between props
* matte blackground
* well-lit with natural light
* photo taken from bird’s eye view
* props of different sizes to show scales
* textures are incorporated
* create movement & interest with some items at an angle
Flat Lay Photography Tips
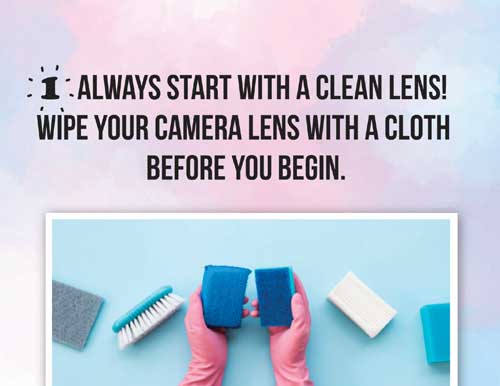
- Always starts with a clean lens: wipe your camera lens with a cloth before you begin
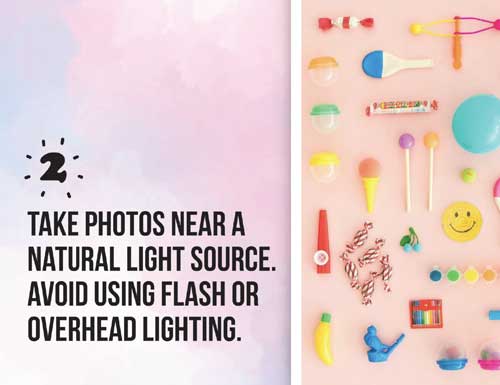
- Take photos near a natural light source, avoid using a flash or overhead lighting
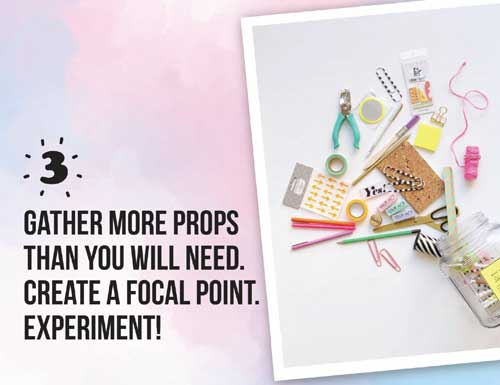
- Gather more props that you will need – create a focal point… experiment
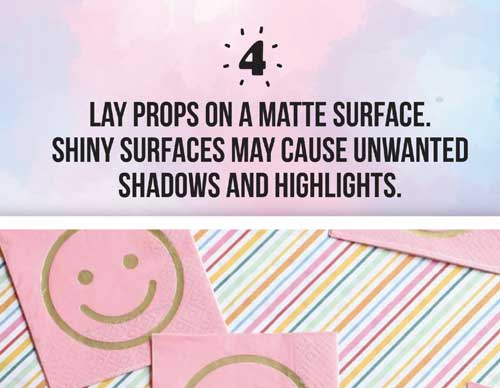
- Lay props on a matte surface. Shiny surfaces may cause unwanted shadows and highlights.
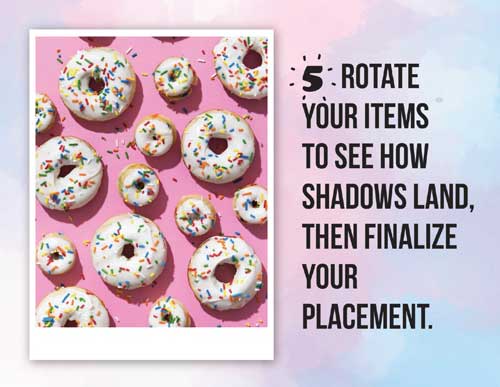
- Rotate your items to see how shadows land, then finalize your placement.
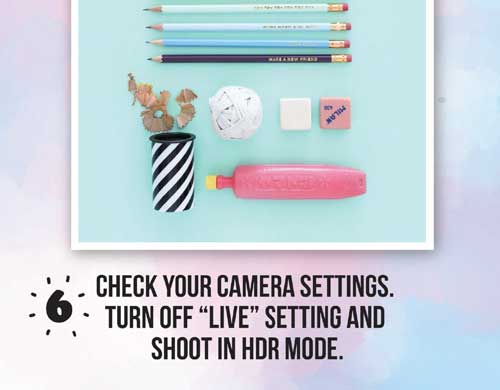
- Check your camera settings. Turn off “LIVE” setting and shoot in HDR mode.
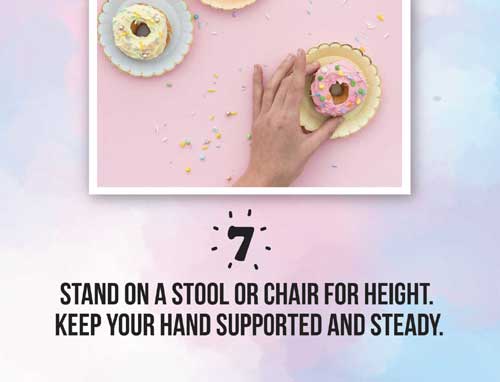
- Stand on a stool or chair for height. Keep your hand supported and steady.
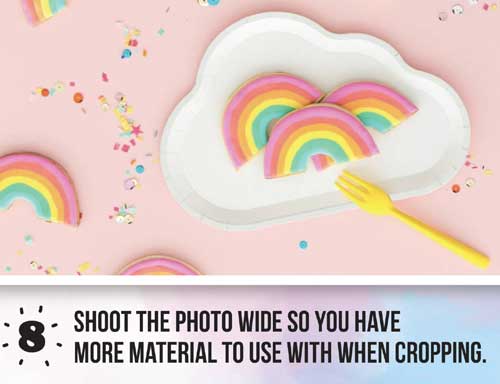
- Shoot the photo wide so you have more material to use when cropping.
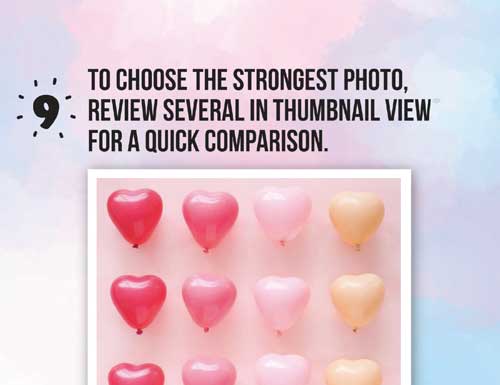
- To choose the strongest photo, review several in thumbnail view for a quick comparison.
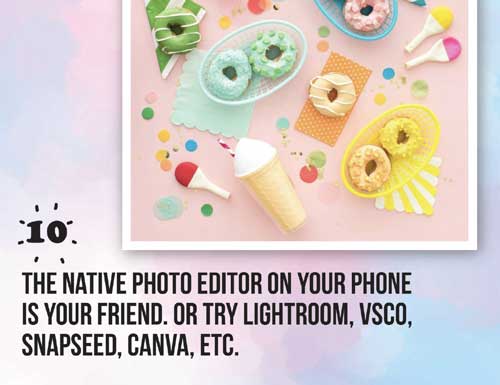
- The native photo editor on your phones your friend. Or try Lightroom, VSCO, Snapseed, Canva, etc.
Download/ view the entire presentation HERE.